Coffee Chat: Coffee of the Month and Lemon Crinkle Cookies Recipe
- zstreetcoffeeroast
- Apr 3, 2023
- 3 min read

Greetings!
Happy April to you! And since we’re running headlong into spring, we have a
couple things to share with you that we think fit the theme. This month's featured bean is...

Organic Colombia Sierra Nevada
This is the first time we’ve carried a bean from Columbia, and it’s pretty tasty. At a
light roast it’s lemony, which is why it seemed appropriate to go with this month’s
recipe. At a medium light roast it was nutty but still bright, with a bit of a citrusy
finish. It is shade grown on a bird-friendly estate, and naturally fertilized with
compost originating from coffee pulp and other natural elements.
This bean at a light roast will pair well with any of your favorite lemon goodies,
bringing out the wonderful citrus in your treat without overpowering it.
Today’s featured recipe – Gluten Free Lemon Crinkle Cookies

These are super easy, super tasty, and you won’t believe they’re gluten free! Try
these for Easter or your next baby or bridal shower. Or just make them because
it’s Monday!

Ingredients:
¾ cup sugar
Zest of 2 lemons
5 T unsalted butter, melted and cooled
1 t vanilla extract
2 large eggs, room temperature
2 T lemon juice, freshly squeezed
2 cups gluten flour blend (without xanthan gum)
½ t xanthan gum (omit if your blend already includes this)
1 t baking powder
¼ t salt
½ c sugar (for coating the cookies before baking)
¾ c powdered sugar (for coating the cookies before baking)
Instructions for making the dough:

Add the sugar and lemon zest to a large bowl, and use your fingertips to rub the
zest into the sugar. This helps release more essential oils from the zest.
Add the melted butter and vanilla, and whisk until combined.
Add the eggs and whisk well.
Add the lemon juice and whisk until smooth.

In a separate bowl, whisk together the dry ingredients (gluten free flour blend,
xanthan gum, baking powder, and salt), and add them to the wet ingredients.
Mix with a wooden spoon or a rubber spatula until you get a smooth, batter-like
cookie dough.
Tip: At this stage, the cookie dough will really be more like a batter – very soft and
sticky, bordering on runny. That’s how it should be. Resist the urge to add more
flour!
Chill the cookie dough in the fridge for at least 2 hours or overnight before
proceeding to the next step.
Shaping and coating the cookies:
Adjust the oven rack to the middle position and preheat the oven to 350. Line 2
large baking sheets with parchment paper. (If using one baking sheet, be sure to
let it cool between batches)

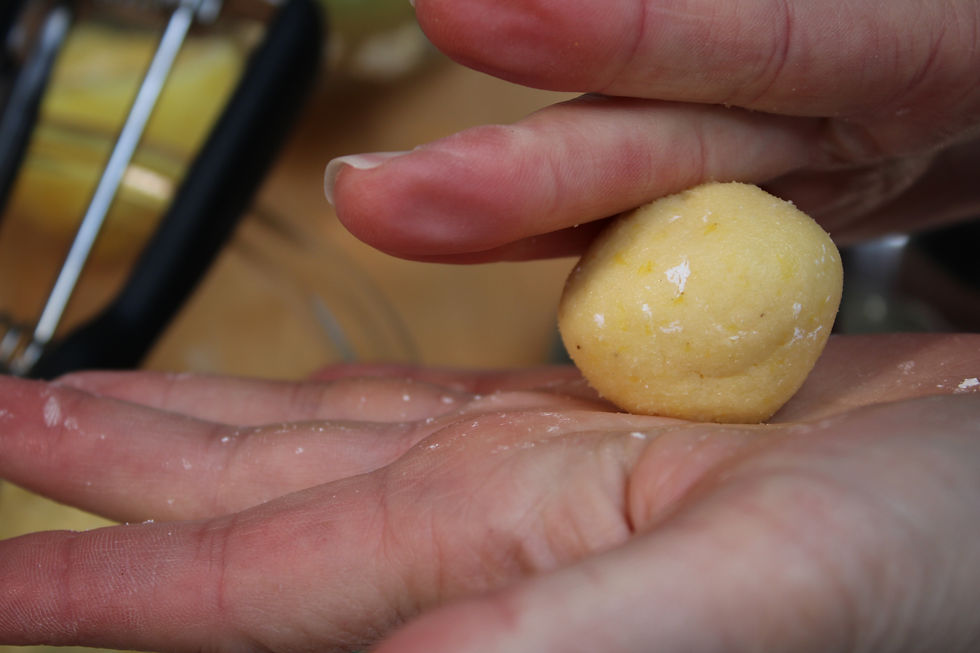
Using about 1 T of chilled dough per cookie, shape into balls.
Roll each ball first in the granulated sugar and then the powdered sugar until fully
coated.
Baking:
Place the cookie dough balls on the lined baking sheets, at least 1 ½ to 2” apart.
The cookies will spread and expand slightly during baking.

Bake one baking sheet at a time (keep the second one in the fridge until ready) at
350 for 8-10 minutes or until the cookies have risen and expanded into little
rounded mounds with cracks in their sugar coating. The cookies are done when
the cracks no longer look wet or shiny.
The cookies will be very soft and delicate immediately out of the oven. Allow
them to cool on the baking sheet for at least 10 minutes before transferring them
to a wire to cool completely.

Storage:
These cookies keep well in an airtight container in a cool dry place for about a
week. They’re best the first few days after baking.
Enjoy!


Comments